
Uniswap v4
Ethereum
Ethereum Layer 1. Usually the highest transaction cost of these routes, paid in ETH.
vKOIN / USDTLiquidity guide
Choose a verified pool, understand the price range, and review every wallet request before you create a position.
This guide covers three concentrated-liquidity markets: Uniswap v4 on Ethereum and Base, and Raydium CLMM on Solana. It never asks you to send funds to a person or an address.
Choose a networkLiquidity guide
vKOIN represents KOIN outside the Koinos blockchain. The networks below do not share balances, fees, or liquidity.
Uniswap v4
Ethereum Layer 1. Usually the highest transaction cost of these routes, paid in ETH.
vKOIN / USDTUniswap v4
An Ethereum Layer 2. Transactions are paid with ETH held on Base, not ETH held on Ethereum.
vKOIN / USDCRaydium CLMM
An independent Layer 1. It uses Solana addresses and SOL for fees; WSOL is the token form of SOL used by the pool.
vKOIN / WSOLYour selection stays in the URL, so you can bookmark or share the exact route.
Your route
Compare the complete values in your wallet or DEX. Do not rely on shortened addresses.
Uniswap v4
Step 1 of 8
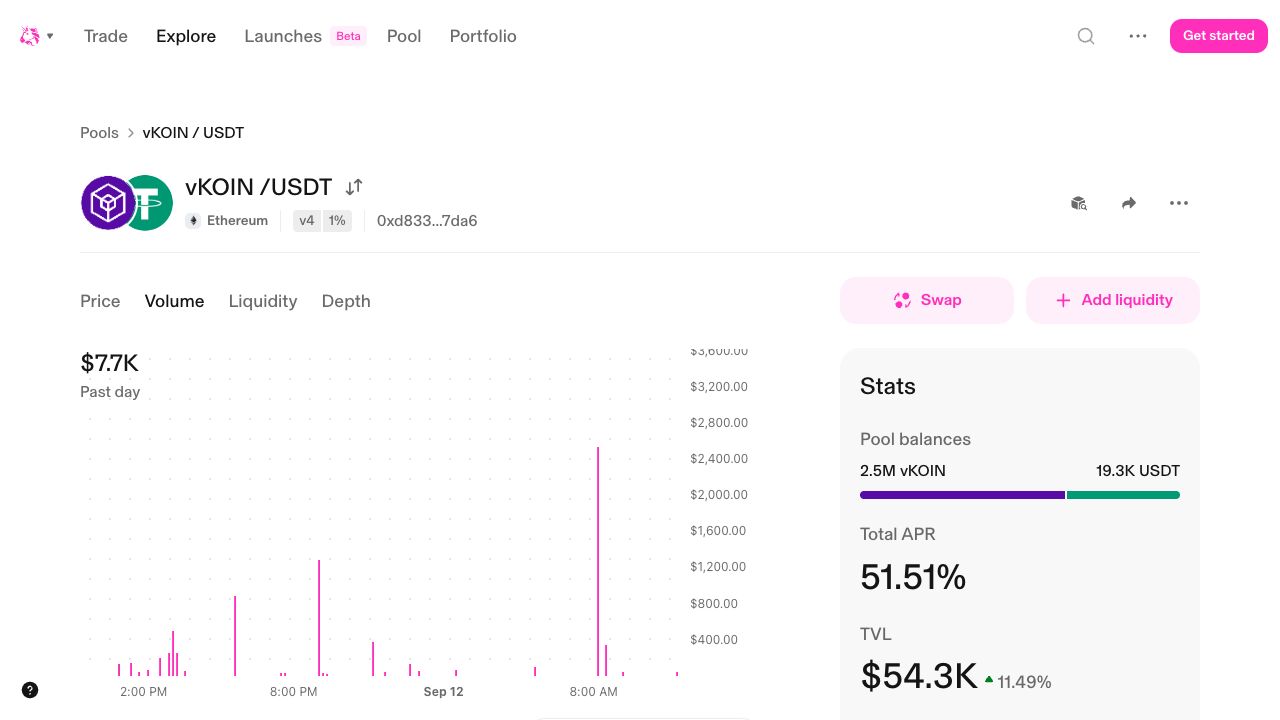
Use the button on this page instead of searching by token name. Confirm the interface shows Ethereum and vKOIN / USDT.
Step 2 of 8
Compare the pool ID and both token contracts with the values above. Stop if any character differs.
Step 3 of 8
Connect a wallet you trust and switch it to Ethereum. Keep enough ETH on Ethereum to pay every approval and position transaction.
Step 4 of 8
Open the add-liquidity flow from the verified pool page. Review which contracts the wallet asks you to interact with.
Step 5 of 8
Choose a minimum and maximum price you understand. The position earns fees only while the market remains inside that interval.
Step 6 of 8
Enter vKOIN and USDT. Uniswap calculates the required ratio from the live price and your selected range.
Step 7 of 8
Read every approval or Permit2 request, its token, amount, and spender. Then review the final amounts, price range, pool fee, network fee, and destination before signing.
Step 8 of 8
Wait for confirmation, open the transaction in the network explorer, and verify the new position appears in your Uniswap portfolio.
Concentrated liquidity
You choose a minimum and maximum price. Inside that interval, your capital can facilitate swaps and earn a share of pool fees. Outside it, the position becomes inactive and stops earning fees until the price returns.
A narrower range can use capital more efficiently, but it goes out of range more easily and needs more active monitoring. A wider range is usually less sensitive to price movement, but spreads the same capital more broadly.
There is no universally correct range. Review the live market, your risk tolerance, and how often you can monitor the position. This guide does not recommend a price or range.
If the relative token prices change, the position can be worth less than holding the two tokens separately. Fees may not offset that difference.
An out-of-range position stops earning fees and can become almost entirely one of the two assets.
DEX contracts, bridges, wallets, and the assets themselves can fail or be exploited. Use only what you understand and can afford to lose.
A transaction on the wrong network, a malicious approval, or a copied impostor address can result in permanent loss.
Check the selected network and open the exact pool link from this page. Searching by token symbol can surface impostors.
Make sure the wallet is connected, the price range is valid, you have the requested token amounts, and you still have the native fee asset.
That can happen when the chosen range is entirely above or below the current market price. Review the range before approving.
Switch the wallet and DEX back to the network where you created it, then check the confirmed transaction in that network's explorer.
Interfaces and protocol behavior can change. Check the current documentation before committing funds.
Educational information only. This is not financial, investment, legal, or tax advice. Pool availability and interfaces can change. Verify every identifier and transaction in your own wallet before signing.
Pool links and identifiers last verified 13 September 2026.